apt upgrade를 실행하다 보면 가끔 Ubuntu Pro 관련 안내 문구가 나타날 때가 있다. 처음 보면 패키지 업데이트에 문제가 생긴 것처럼 보이지만, 실제로는 추가 보안 업데이트 제공 여부를 알려주는 메시지다.
이번 글에서는 이 메시지의 의미와, 필요할 경우 무료 개인 구독을 등록하는 방법을 정리해보겠다.
내가 확인한 메시지는 다음과 같다.
ubuntu@instance-1:~$ sudo apt upgrade
Reading package lists... Done
Building dependency tree... Done
Reading state information... Done
Calculating upgrade... Done
Get another security update through Ubuntu Pro with 'esm-apps' enabled:
  rclone
Learn more about Ubuntu Pro at https://ubuntu.com/pro
The following upgrades have been deferred due to phasing:
  fwupd libjcat1 libxmlb2
0 upgraded, 0 newly installed, 0 to remove and 3 not upgraded.
ubuntu@instance-1:~$
눈에 띄는 부분은 이 문장이다.
Get another security update through Ubuntu Pro with ‘esm-apps’ enabled: rclone
이 메시지는 현재 시스템에 설치된 rclone 패키지에 대해 추가 보안 업데이트가 준비되어 있지만, 그 업데이트는 Ubuntu Pro의 esm-apps를 활성화해야 받을 수 있다는 뜻이다.
참고로 바로 아래의 The following upgrades have been deferred due to phasing는 별개의 메시지다. fwupd, libjcat1, libxmlb2가 단계적 배포(phasing) 때문에 잠시 보류되었다는 의미이지, Ubuntu Pro와 직접 관련된 것은 아니다.
Ubuntu Pro는 Canonical이 제공하는 확장 보안 유지보수 서비스다. 공식 문서 기준으로 개인 사용자는 최대 5대까지 무료로 사용할 수 있고, Ubuntu Community Member라면 최대 50대까지 무료 혜택을 받을 수 있다. 필수는 아니므로 그냥 넘어가도 된다. 다만 보안 업데이트 범위를 넓히고 싶다면 등록해두는 편이 좋다.
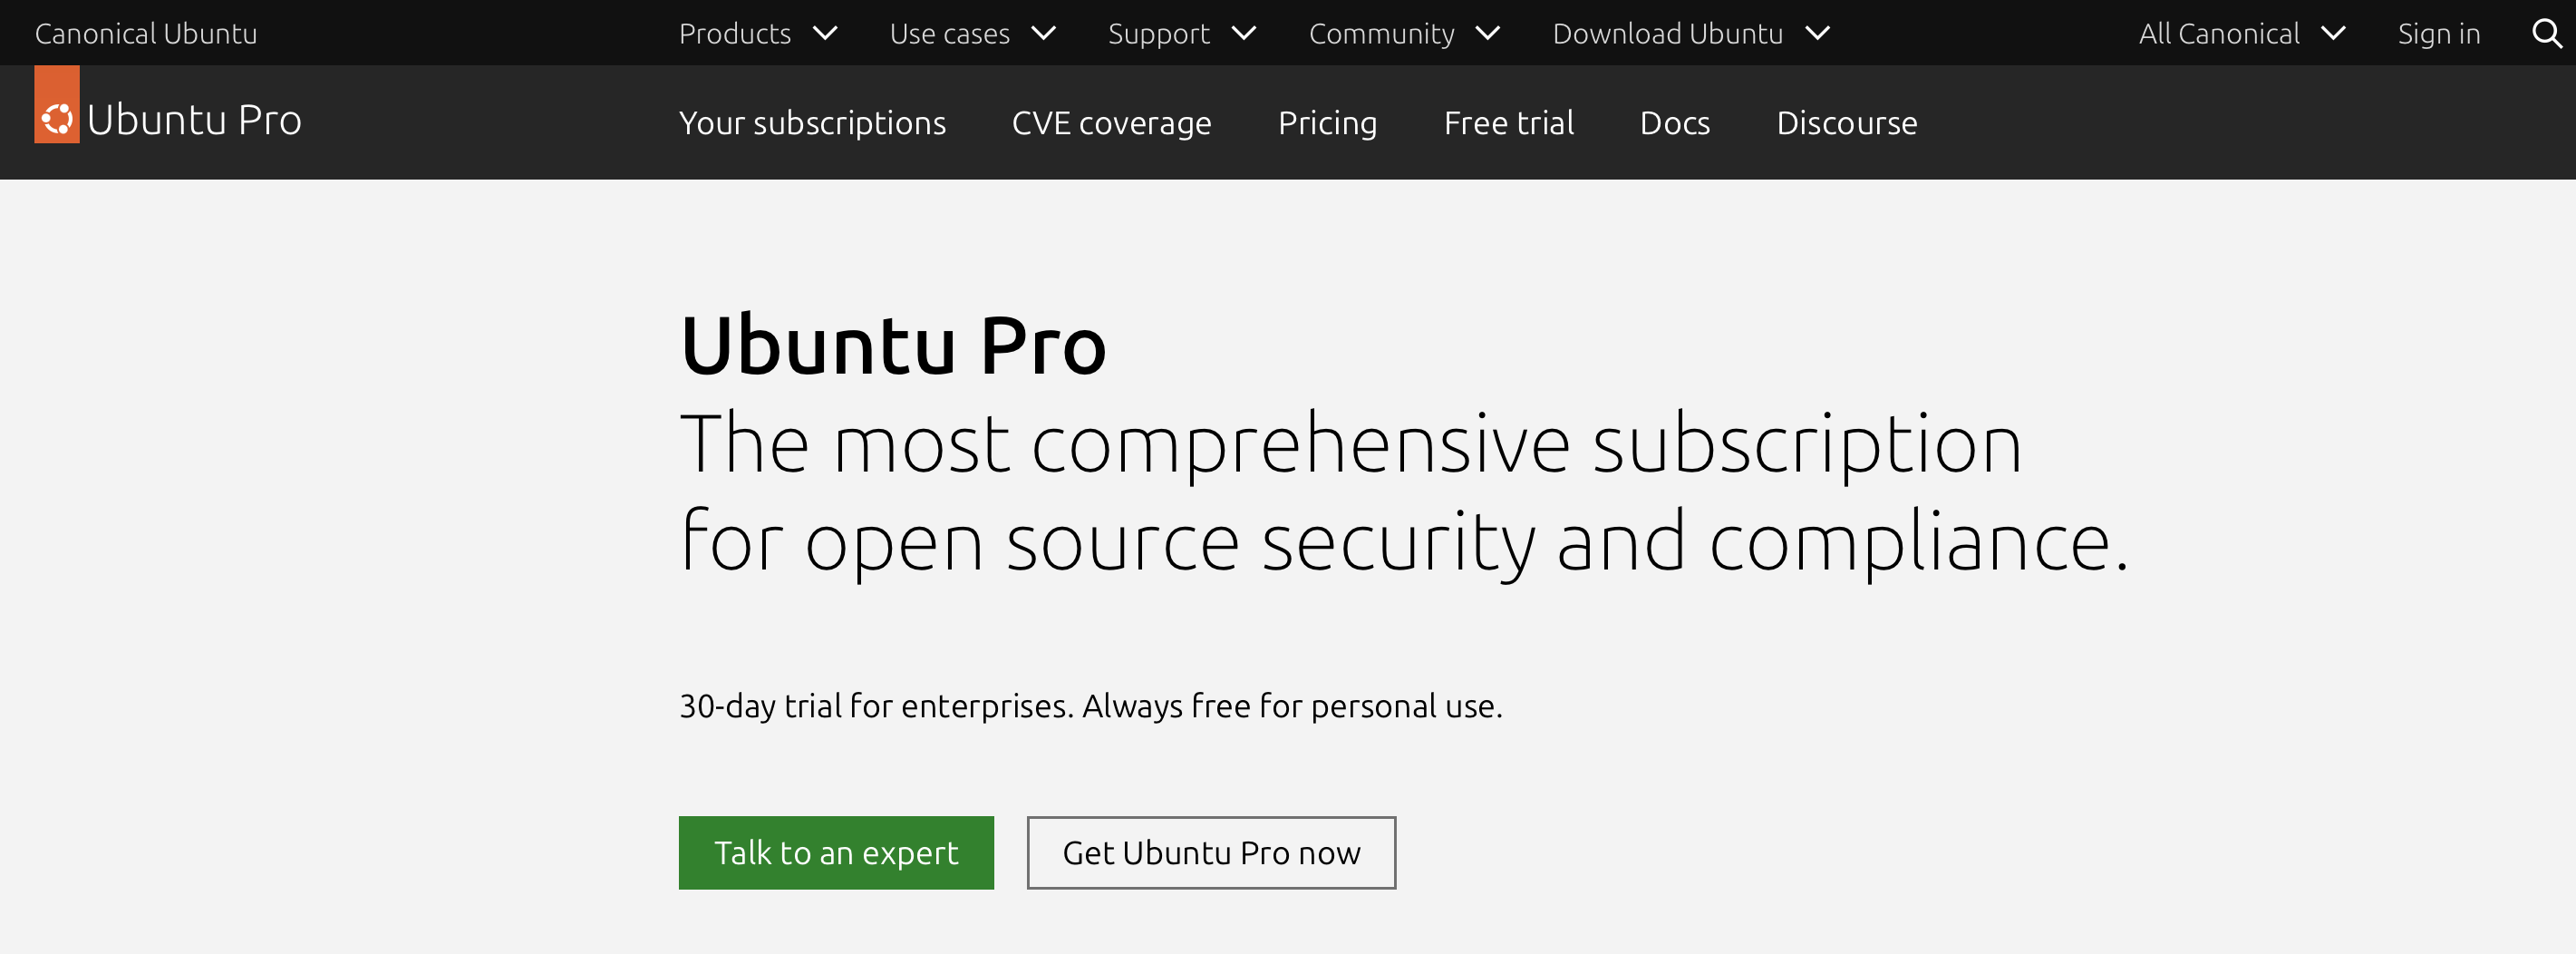
먼저 Ubuntu Pro 페이지에 접속해서 Get Ubuntu Pro now 버튼을 클릭한다.
Ubuntu Pro의 주요 기능은 다음과 같다.
esm-infra: Ubuntu Main 저장소 패키지에 대한 보안 유지보수 기간 연장esm-apps: Universe 저장소를 포함한 더 넓은 범위의 패키지 보안 업데이트 제공livepatch: 재부팅 없이 커널 보안 패치 적용 가능- 각종 보안 컴플라이언스, 감사, 관리 도구 제공
즉, 기본 LTS 지원만으로는 놓칠 수 있는 패키지까지 보안 업데이트 범위를 넓혀주는 서비스라고 이해하면 된다.
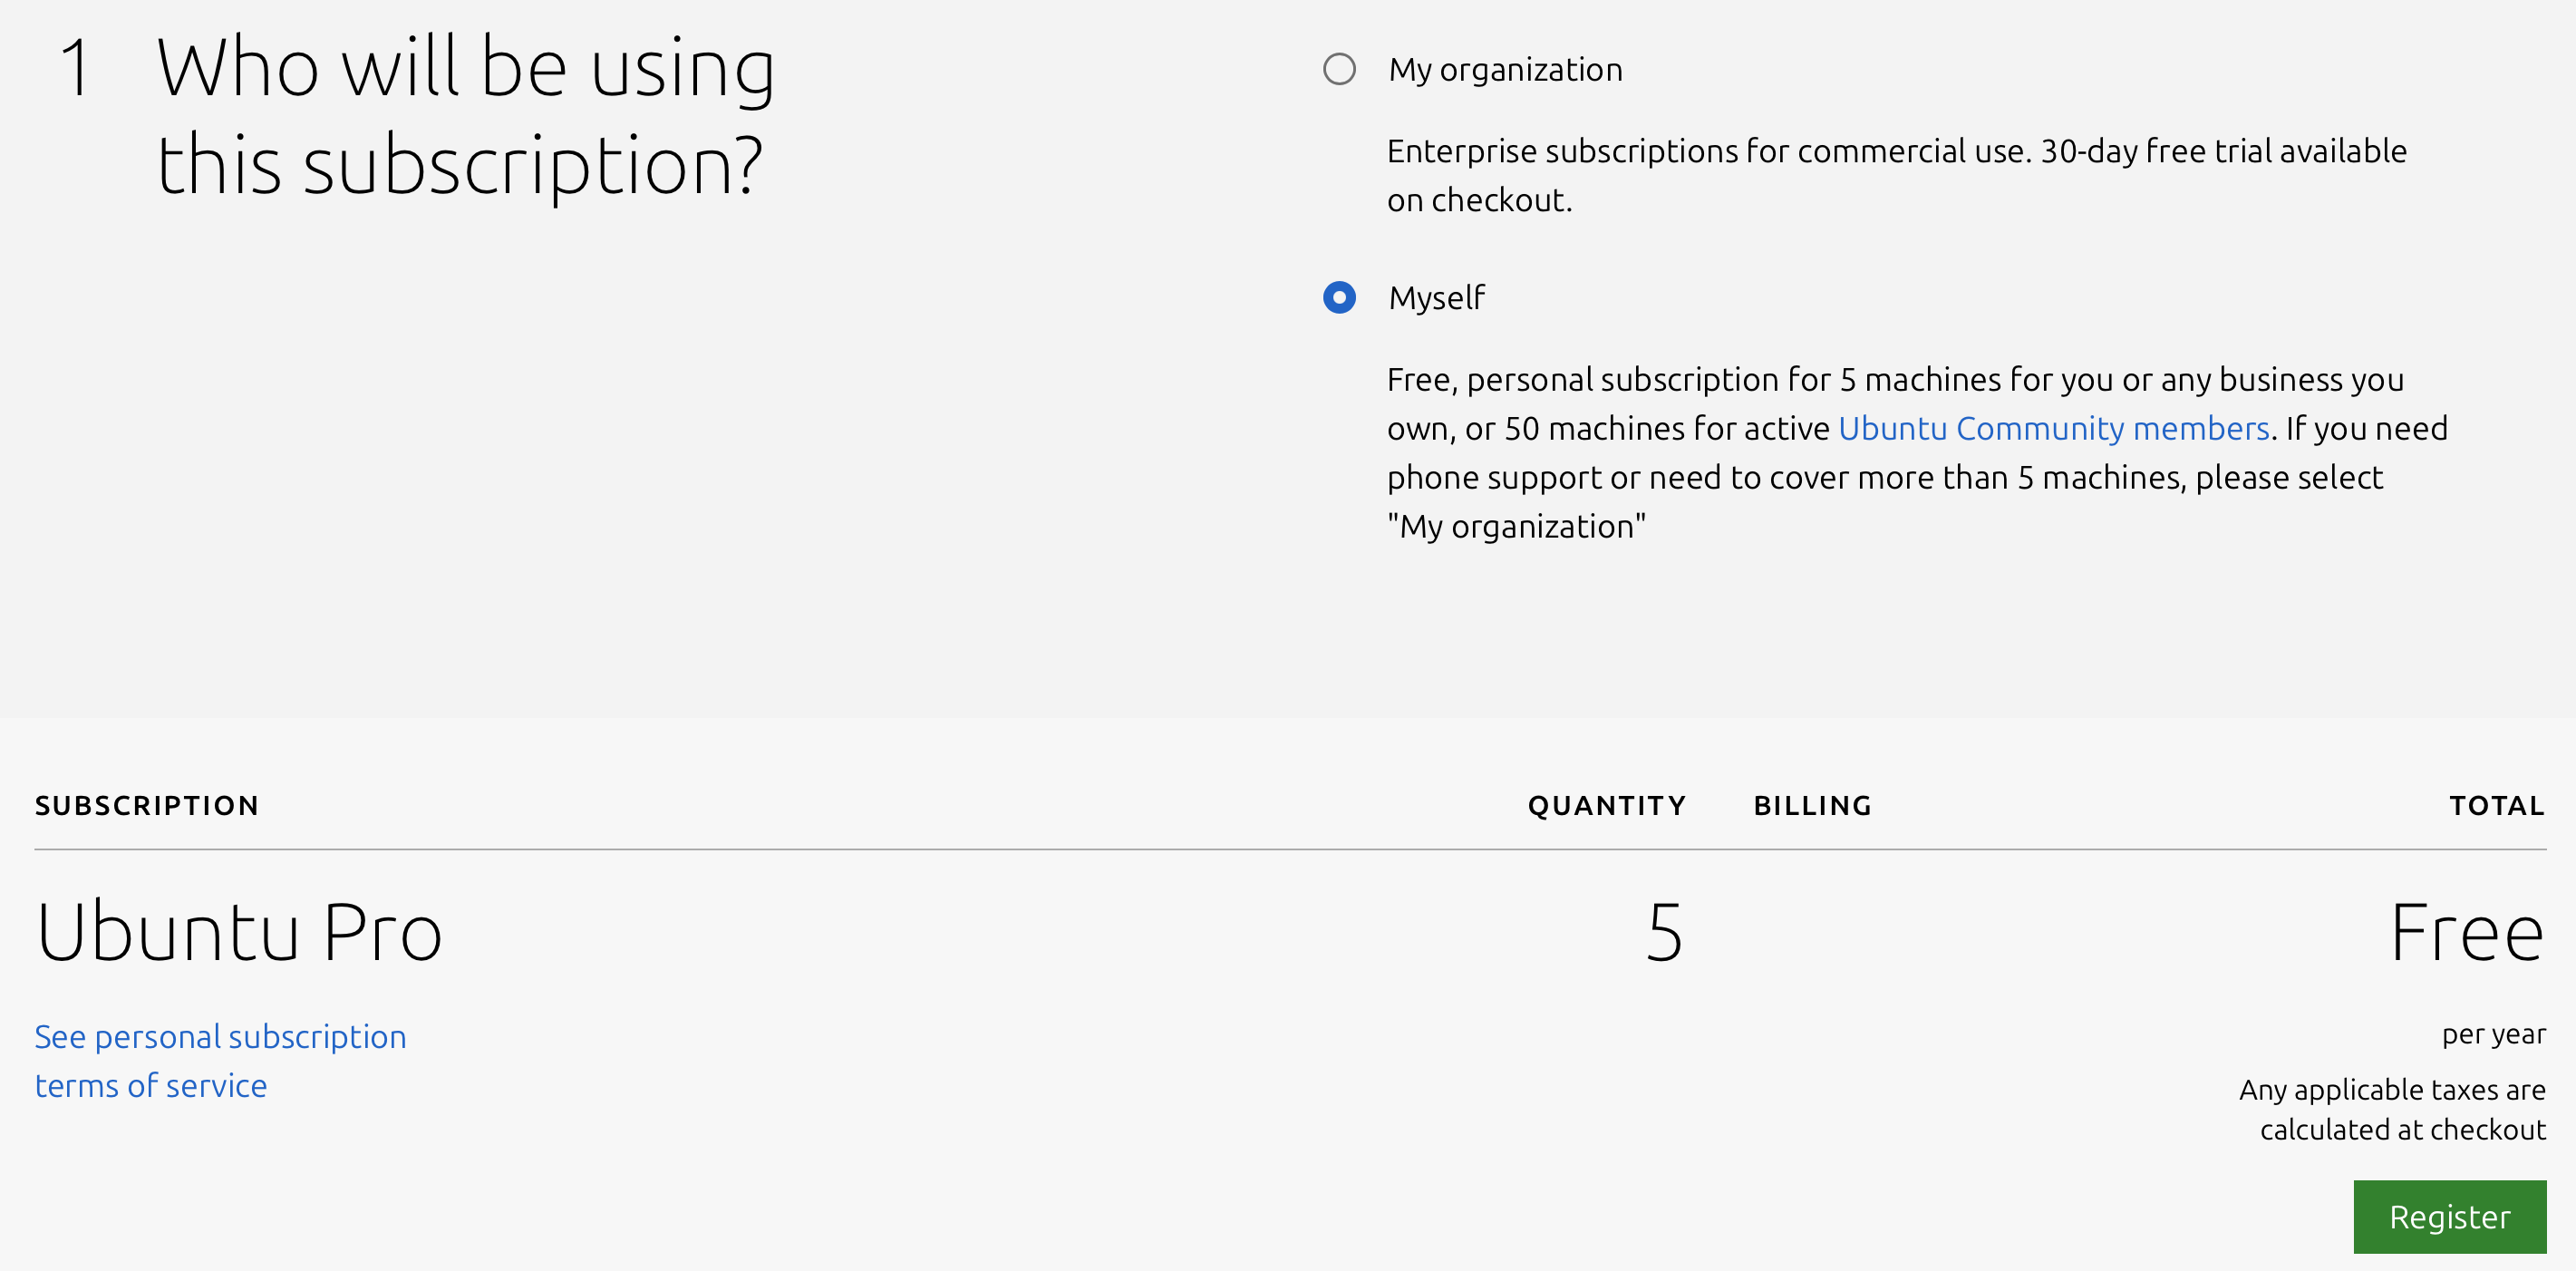
Ubuntu One 계정으로 로그인한 뒤 구독 대상을 Myself로 선택하고 Register를 클릭한다. 계정이 없다면 먼저 계정 생성이 필요하다.
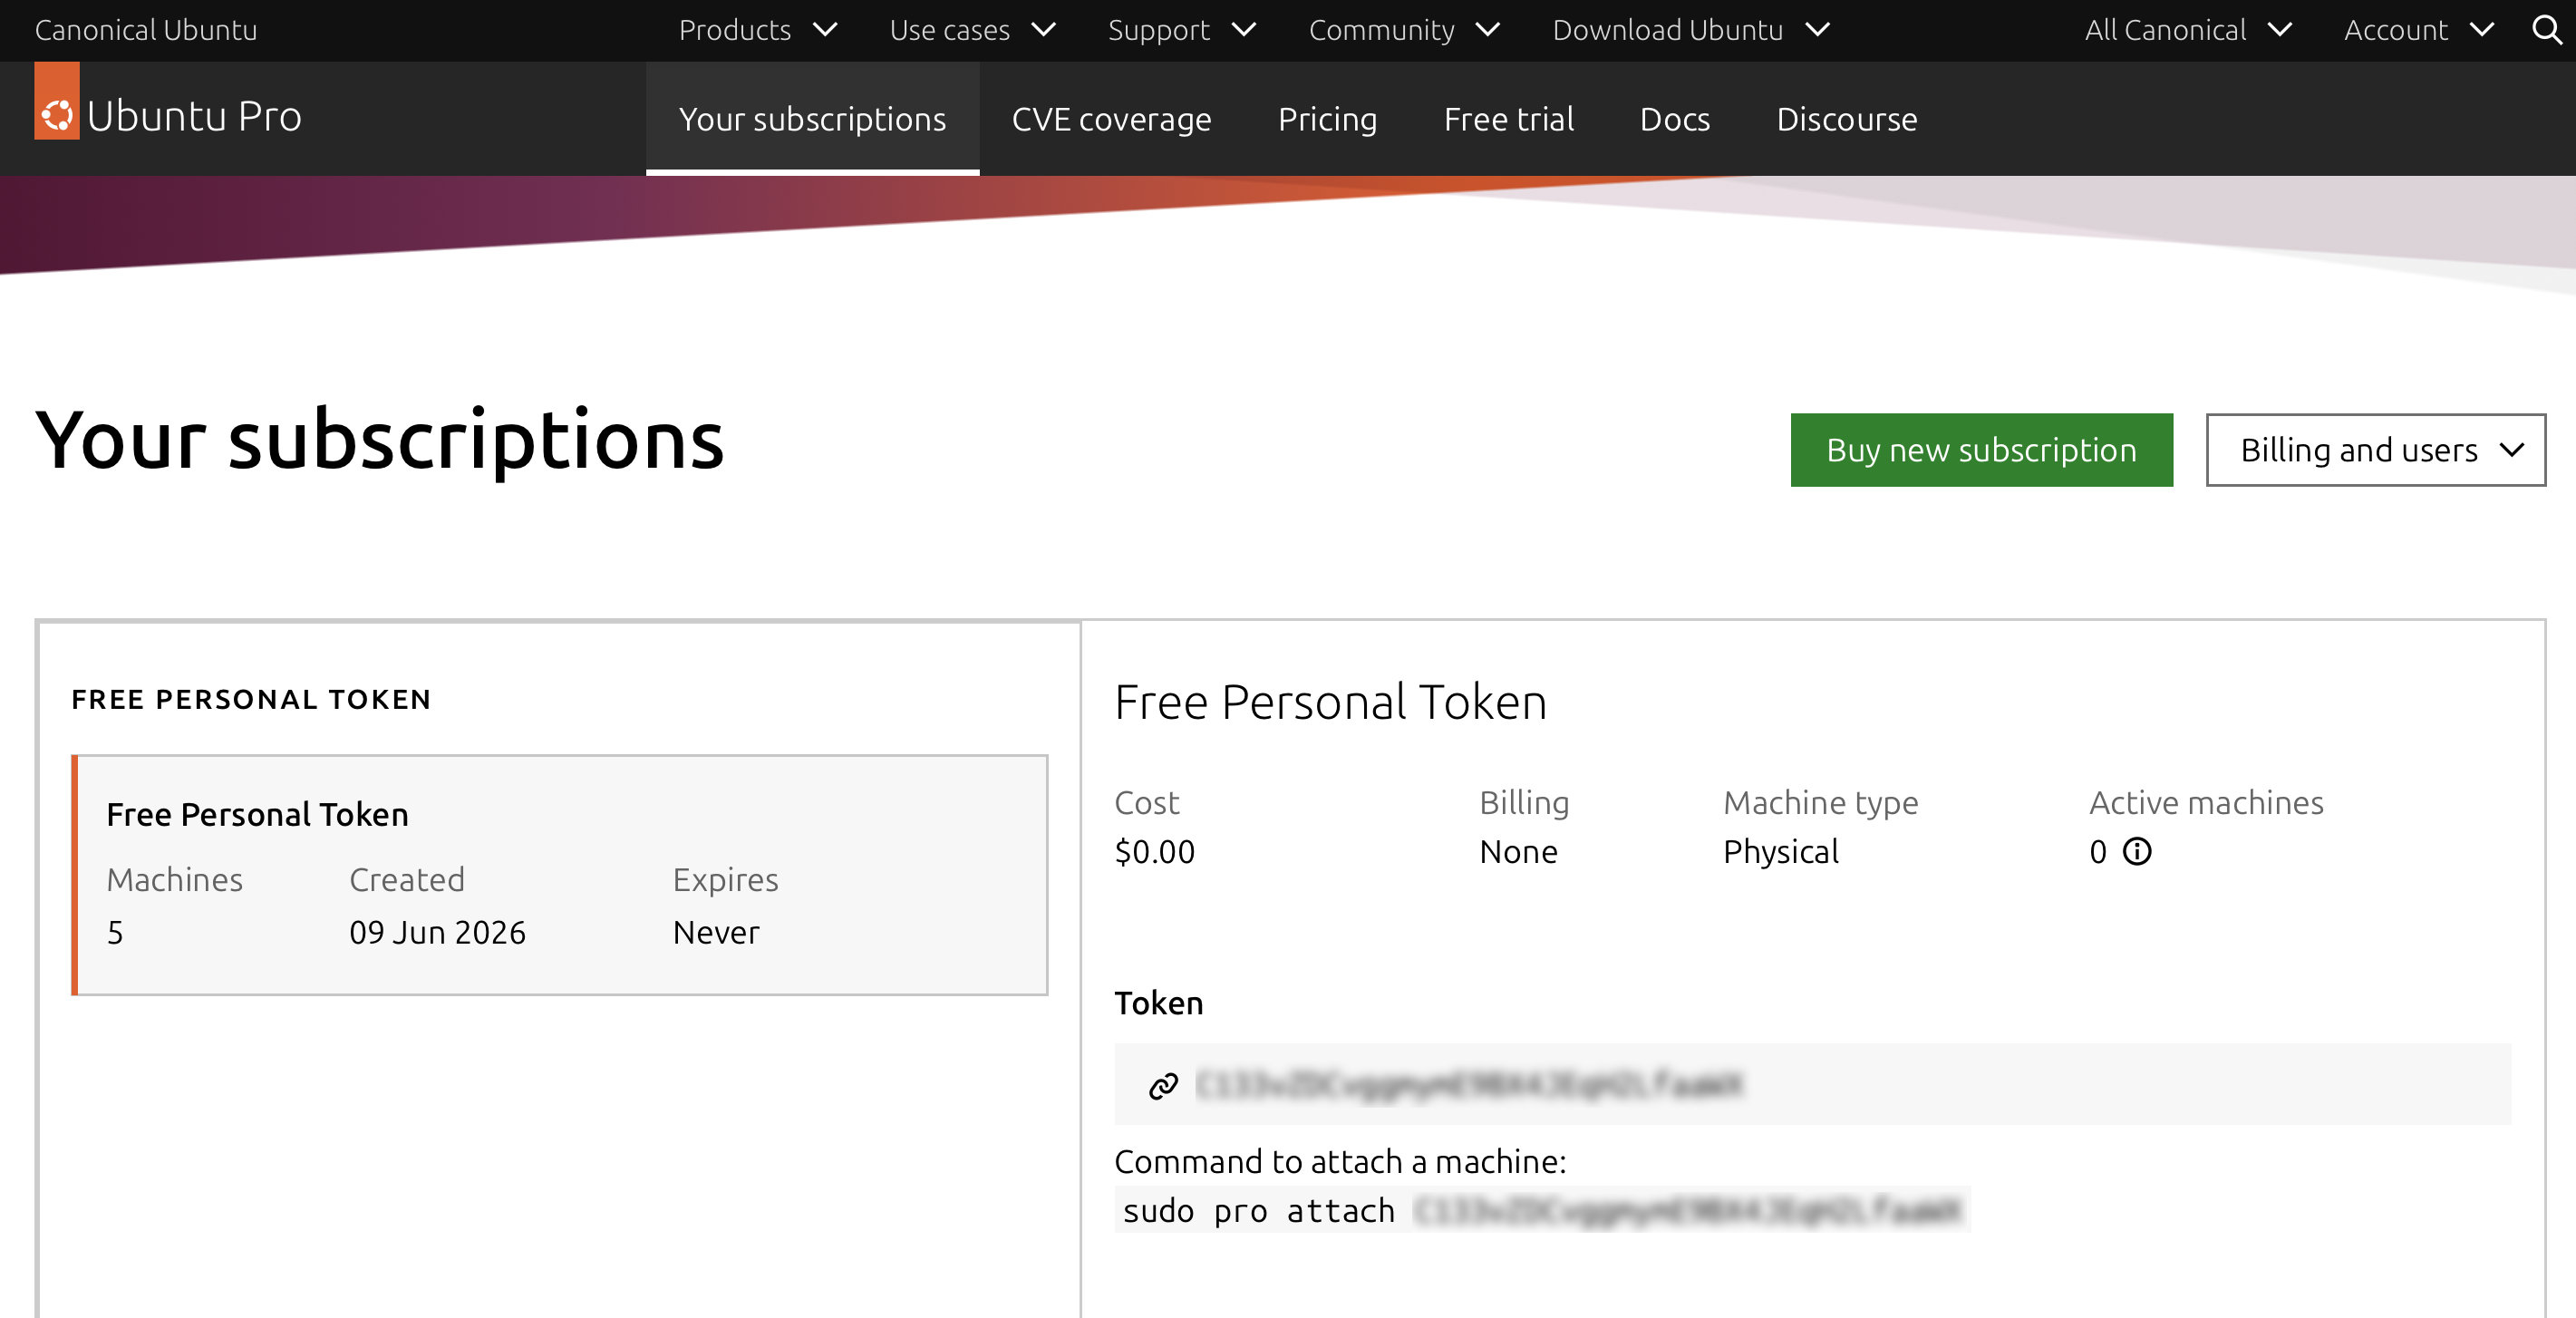
등록이 끝나면 토큰과 함께 Command to attach a machine 명령어가 나온다. 이 명령어를 복사해서 우분투 서버에서 실행하면 된다.
실행 결과는 다음과 비슷하다.
ubuntu@instance-1:~$ sudo pro attach C###@@@!!!###$$$%%%&&&((()))##
Enabling Ubuntu Pro: ESM Apps
Ubuntu Pro: ESM Apps enabled
Enabling Ubuntu Pro: ESM Infra
Ubuntu Pro: ESM Infra enabled
This machine is now attached to 'Ubuntu Pro - free personal subscription'

SERVICE          ENTITLED  STATUS       DESCRIPTION
anbox-cloud      yes       disabled     Scalable Android in the cloud
esm-apps         yes       enabled      Expanded Security Maintenance for Applications
esm-infra        yes       enabled      Expanded Security Maintenance for Infrastructure
fips-updates     yes       disabled     FIPS compliant crypto packages with stable security updates
landscape        yes       disabled     Management and administration tool for Ubuntu
realtime-kernel* yes       disabled     Ubuntu kernel with PREEMPT_RT patches integrated
usg              yes       disabled     Security compliance and audit tools

 * Service has variants

NOTICES
Operation in progress: pro attach

For a list of all Ubuntu Pro services and variants, run 'pro status --all'
Enable services with: pro enable <service>

     Account: test@gmail.com
Subscription: Ubuntu Pro - free personal subscription
ubuntu@instance-1:~$
여기까지 나오면 등록은 끝난다. 이후 sudo apt upgrade를 다시 실행하면, 앞서 Ubuntu Pro 안내만 표시되던 패키지가 실제 업데이트 대상에 포함되는 것을 확인할 수 있다.
정리하면 apt upgrade 중 Ubuntu Pro 관련 문구가 보인다고 해서 시스템에 문제가 생긴 것은 아니다. 기본 LTS 보안 지원 범위를 넘어서는 추가 보안 업데이트가 있다는 뜻이다. 개인 서버나 개인 프로젝트용 우분투를 운영 중이라면 무료 구독만으로도 충분히 활용할 만하다.